These instructions are for X-Plane 11. To see the instructions for X-Plane 10, click here.
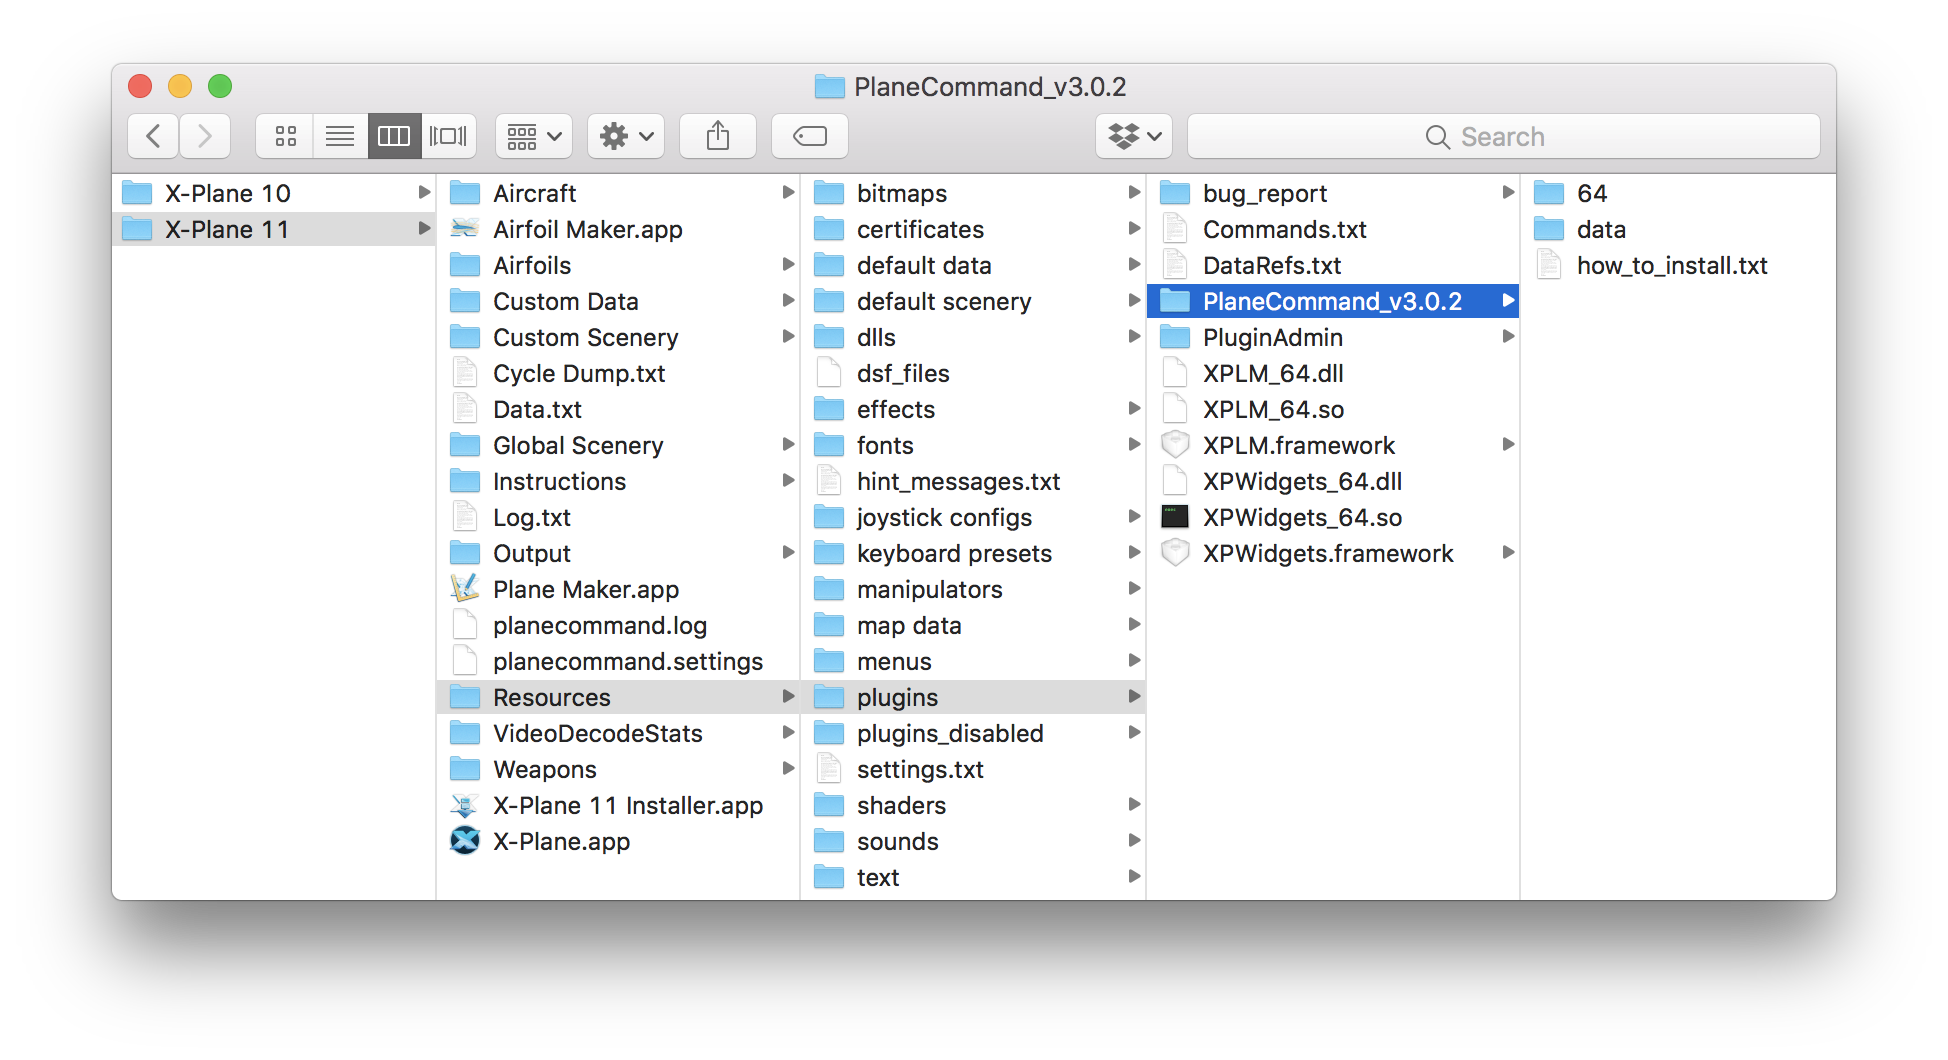
First, locate the directory that X-plane is installed in. In that directory there is a folder called Resources, and in that, one called plugins. You'll need to put the PlaneCommand_v3.0.x folder in there.
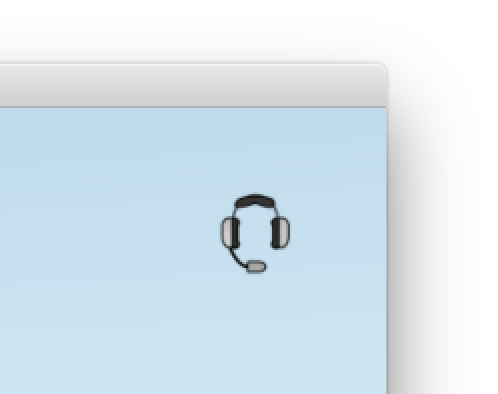
Next time you launch X-plane, you should see PlaneCommand in the plugins menu, and a headset icon in the upper right hand corner of your screen.
If you would rather use a joystick, click here.
Next, configure a button to use as a push-to-talk button. You'll hold this button down whenever you want planecommand to listen. Open the settings window by clicking in the upper right hand corner:

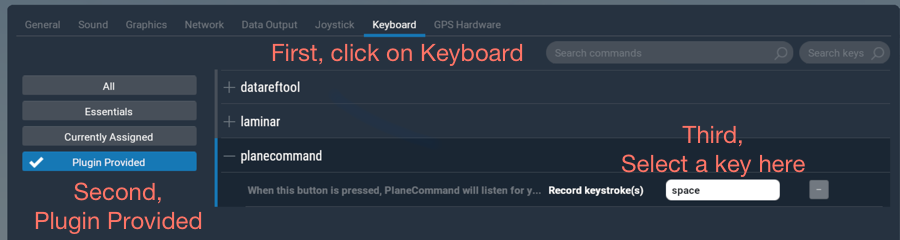
Click on Keyboard, then Plugin Provided, then 'planecommand' and select a key there.
Press OK, and it's ready to test! You can also map a button on your joystick- that's what I use.
When you press the button, you'll see the headset icon light up. As you speak, the icon will pulse with your voice.

Troubleshooting: